

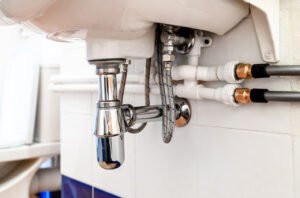
How to Connect Pipes Under a Sink: A Comprehensive Guide
Blog Connecting pipes under a sink might seem like a daunting task, but with the right tools and a bit
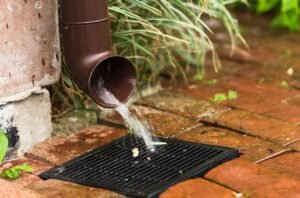
How to Unblock Outdoor Drains: A Comprehensive Guide
Blog Blocked outdoor drains can be a nuisance, causing water to pool and potentially leading to unpleasant odors and even

How to Stop a Running Toilet: A Comprehensive Guide
Blog A running toilet can be more than just an annoying sound in your home; it can also lead to