Category: How to Guide

Your blog category

  • How to Connect Pipes Under a Sink: A Comprehensive Guide 

    How to Connect Pipes Under a Sink: A Comprehensive Guide 

    How to Connect Pipes Under a Sink

    Blog

    How to Connect Pipes Under a Sink: A Comprehensive Guide 

    Picture of Written by:
    Written by:
    Picture of Reviewed by:
    Reviewed by:

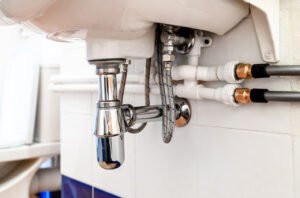
    Connecting pipes under a sink might seem like a daunting task, but with the right tools and a bit of patience, it can be a straightforward DIY project. Whether you’re installing a new sink or replacing old plumbing, this guide will walk you through the process step-by-step. 

    Tools and Materials You’ll Need

    Before you start, gather the following tools and materials: 

    • Pipe wrench 
    • Plumber’s tape (Teflon tape) 
    • PVC or metal piping 
    • Pipe cutter or hacksaw 
    • Adjustable wrench 
    • Bucket (to catch any water) 
    • Towels or rags 

    Step-by-Step Instructions

    Turn Off the Water Supply

    Locate the shut-off valves under the sink and turn them clockwise to close. If there are no shut-off valves, you may need to turn off the main water supply to your home. 

    Remove the Old Pipes

    Place a bucket under the sink to catch any residual water. Use a pipe wrench to loosen the nuts connecting the old pipes. Carefully remove the pipes and clean the area of any debris or old plumber’s tape. 

    Measure and Cut New Pipes

    Measure the distance between the sink drain and the wall drainpipe. Cut the new pipes to the appropriate length using a pipe cutter or hacksaw. Ensure the cuts are straight and smooth to prevent leaks. 

    Dry Fit the Pipes

    Before applying any plumber’s tape or cement, dry fit the pipes to ensure they fit correctly. This step helps you make any necessary adjustments before finalizing the connections. 

    Apply Plumber’s Tape

    Wrap plumber’s tape around the threads of the pipes. This tape helps create a watertight seal and prevents leaks. Wrap the tape clockwise around the threads three to four times. 

    Connect the Pipes

    Start by connecting the tailpiece to the sink drain. Tighten the nut by hand, then use an adjustable wrench to secure it further. Next, connect the P-trap to the tailpiece and the wall drainpipe. Ensure all connections are tight but avoid over-tightening, which can damage the pipes. 

    Secure the Connections

    Once all the pipes are connected, use a pipe wrench to ensure all nuts are securely tightened. Check that the pipes are aligned correctly and that there are no gaps or misalignments. 

    Test for Leaks

    Turn the water supply back on and let the water run for a few minutes. Check all connections for leaks. If you notice any leaks, tighten the connections further or reapply plumber’s tape as needed. 

    Final Adjustments

    If everything is working correctly, make any final adjustments to ensure the pipes are secure and properly aligned. Clean up any water spills and dispose of the old pipes and debris. 

    Tips for Success

    • Take Your Time: Rushing through the process can lead to mistakes and potential leaks. Take your time to ensure each step is done correctly. 
    • Use Quality Materials: Invest in high-quality pipes and fittings to ensure the longevity of your plumbing. 
    • Seek Help if Needed: If you encounter any issues or feel unsure about any step, don’t hesitate to seek help from a professional plumber. 

    Conclusion

    Unblocking an outdoor drain is a manageable task with the right approach and tools. By following these steps, you can keep your drains clear and prevent future blockages. Regular maintenance and preventive measures will help ensure your outdoor drains remain free-flowing and efficient 

    Most Popular
  • How to Unblock Outdoor Drains: A Comprehensive Guide 

    How to Unblock Outdoor Drains: A Comprehensive Guide 

    How to Unblock Outdoor Drains

    Blog

    How to Unblock Outdoor Drains: A Comprehensive Guide 

    Picture of Written by:
    Written by:
    Picture of Reviewed by:
    Reviewed by:

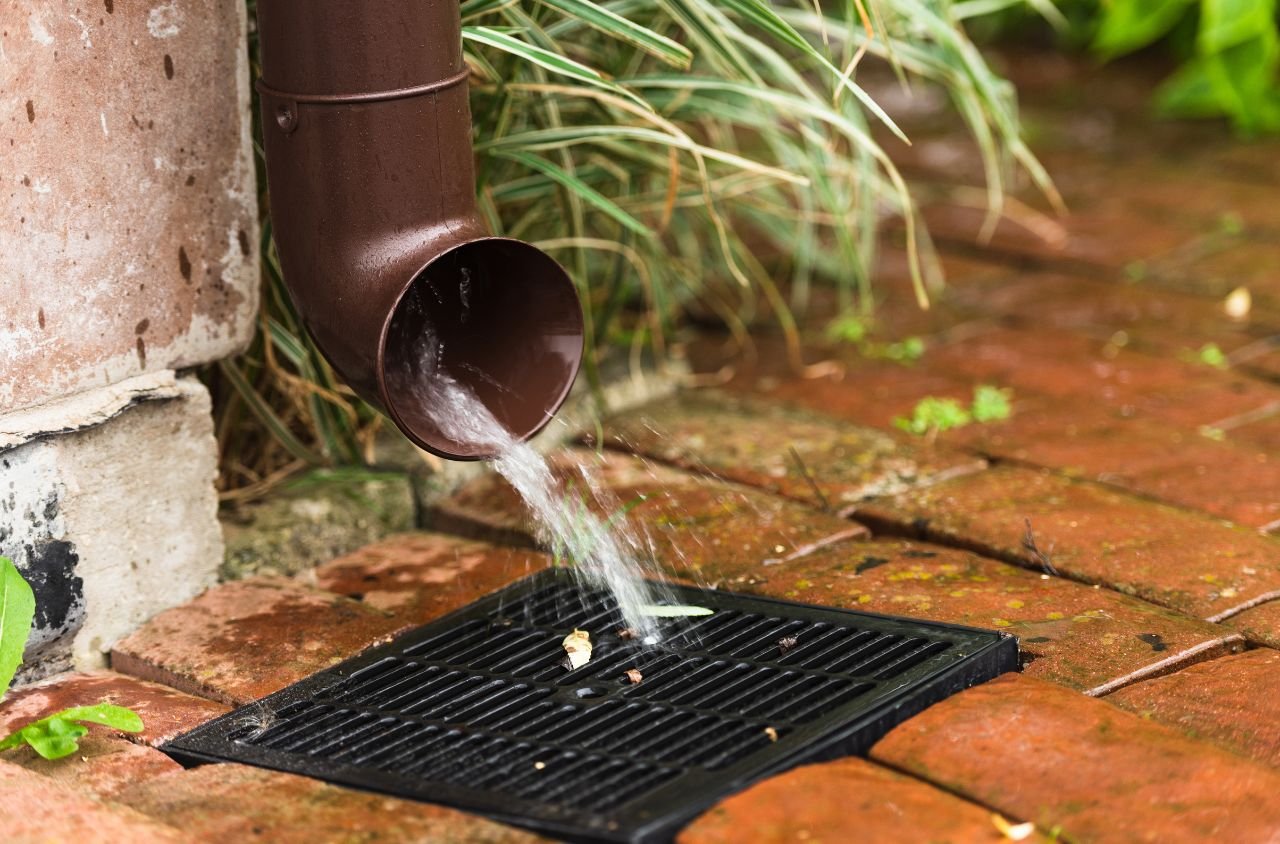
    Blocked outdoor drains can be a nuisance, causing water to pool and potentially leading to unpleasant odors and even property damage. Fortunately, unblocking an outdoor drain is a task you can often handle yourself with the right tools and techniques.  

    Here’s a detailed guide to help you get your drains flowing freely again. 

    How to Unblock Outdoor Drains?

    Unblocking outdoor drains is an essential task to prevent waterlogging and maintain proper drainage around your property. Over time, leaves, dirt, and other debris can accumulate in the drains, causing blockages that can lead to flooding and damage. The process of unblocking involves identifying the blockage, using tools like drain rods or a pressure washer to clear the debris, and ensuring the drain is free flowing. Regular maintenance and timely intervention can save you from more significant issues and keep your outdoor spaces functional and safe. 

    Identify the Problem

    Before you start, it’s important to identify the cause of the blockage. Common culprits include: 

    • Leaves and debris: Fallen leaves, twigs, and other garden debris can accumulate and block the drain. 
    • Mud and silt: Over time, mud and silt can build up, especially after heavy rains. 
    • Grease and fat: If your outdoor drain is connected to your kitchen, grease and fat can solidify and cause blockages. 
    • Foreign objects: Sometimes, objects like toys or stones can accidentally find their way into the drain. 

    Gather Your Tools

    You’ll need a few basic tools to get started: 

    • Rubber gloves 
    • Screwdriver (to remove the drain cover) 
    • Drain rods or a plumbing snake 
    • Bucket 
    • Boiling water 
    • Baking soda and vinegar 
    • Bleach (optional) 
    • Garden hose 

    Remove the Drain Cover

    Start by removing the drain cover. Use a screwdriver to lift it off. If the cover is heavy or stuck, you might need a grate hook or a similar tool to pry it open. 

    Clear Visible Debris

    Put on your rubber gloves and manually remove any visible debris from the drain. This includes leaves, twigs, and any other large objects that might be blocking the flow of water. Dispose of the debris in a trash bag. 

    Use a Drain Rod or Plumbing Snake

    For blockages that are deeper in the drain, use a drain rod or plumbing snake. Insert the rod into the drain and push it through the blockage. Rotate the rod to break up the clog and then pull it out. Repeat this process until you’ve cleared the blockage. 

    Flush the Drain

    Once you’ve removed the blockage, flush the drain with boiling water. This helps to dissolve any remaining grease or fat. For a more thorough clean, you can use a mixture of baking soda and vinegar: 

    1. Pour half a cup of baking soda down the drain. 
    2. Follow with half a cup of vinegar. 
    3. Let the mixture sit for about 30 minutes. 
    4. Flush with boiling water. 

    Use Bleach for Sanitization (Optional)

    If you want to ensure the drain is sanitized, you can pour a small amount of bleach down the drain. Be sure to follow the manufacturer’s instructions and use bleach sparingly, as it can be harsh on pipes and the environment. 

    Prevent Future Blockages

    To prevent future blockages, consider the following tips: 

    • Regular cleaning: Periodically remove debris from the drain cover and flush the drain with boiling water. 
    • Install a drain guard: A drain guard can help catch leaves and other debris before they enter the drain. 
    • Avoid pouring grease down the drain: Dispose of grease and fat in the trash rather than down the drain. 
    • Regular maintenance: Schedule regular maintenance checks to ensure your drains are clear and functioning properly. 

    Conclusion

    Unblocking an outdoor drain is a manageable task with the right approach and tools. By following these steps, you can keep your drains clear and prevent future blockages. Regular maintenance and preventive measures will help ensure your outdoor drains remain free-flowing and efficient 

    Most Popular

  • How to Stop a Running Toilet: A Comprehensive Guide

    How to Stop a Running Toilet: A Comprehensive Guide

    How to Stop a Running Toilet

    Blog

    How to Stop a Running Toilet: A Comprehensive Guide

    Picture of Written by:
    Written by:
    Picture of Reviewed by:
    Reviewed by:

    A running toilet can be more than just an annoying sound in your home; it can also lead to a significant waste of water and an increase in your utility bills. Fortunately, fixing a running toilet is often a straightforward task that you can handle yourself with a bit of guidance.  

    In this article, we’ll explore the common causes of running a toilet and provide detailed, step-by-step instructions on how to fix them. 

    Understanding the Basics

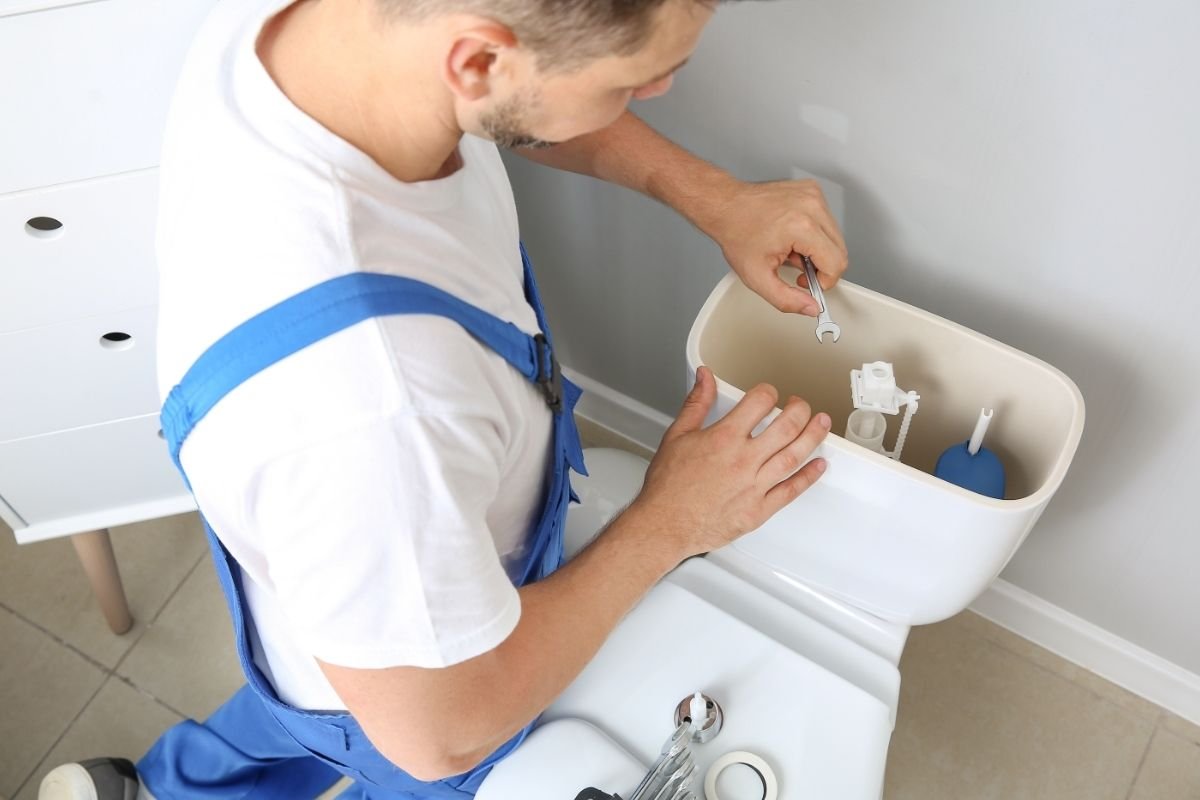
    Before diving into the solutions, it’s essential to understand how a toilet works. The basic components involved in a toilet’s operation include: 

    1. Flapper: A rubber seal that controls the flow of water from the tank to the bowl. 
    2. Fill Valve: Regulates the water level in the tank. 
    3. Overflow Tube: Prevents the tank from overflowing by directing excess water into the bowl. 
    4. Float: A device that rises with the water level and shuts off the fill valve when the tank is full. 

    Common Causes of a Running Toilet

    1. Faulty Flapper: The most common cause of a running toilet is a flapper that doesn’t seal properly. This can be due to wear and tear, mineral buildup, or a misaligned flapper.  
    2. Fill Valve Issues: If the fill valve is not functioning correctly, it can cause the water to continuously flow into the tank. 
    3. Float Problems: If the float is set too high or too low, it can prevent the fill valve from shutting off properly. 
    4. Overflow Tube Issues: If the overflow tube is too high or too low, it can cause water to continuously flow into the bowl. 

    Step-by-Step Solutions

    Fixing a Faulty Flapper

    1. Materials Needed: 

      • Replacement flapper 
      • Rubber gloves 

      Steps: 

      1. Turn off the Water Supply: Locate the shut-off valve behind the toilet and turn it clockwise to stop the water flow. 
      2. Drain the Tank: Flush the toilet to empty the tank. 
      3. Remove the Old Flapper: Disconnect the flapper from the flush handle and the overflow tube. 
      4. Install the New Flapper: Attach the new flapper to the flush handle and the overflow tube. Ensure it seals properly. 
      5. Turn on the Water Supply: Turn the shut-off valve counterclockwise to restore the water flow. Flush the toilet to check if the issue is resolved. 

    Adjusting or Replacing the Fill Valve

    Materials Needed: 

    • Replacement fill valve (if necessary) 
    • Adjustable wrench 

    Steps: 

    1. Turn off the Water Supply: As before, turn off the water supply and drain the tank. 
    2. Inspect the Fill Valve: Check for any visible damage or debris. Clean the valve if necessary. 
    3. Adjust the Fill Valve: If the fill valve is adjustable, use the adjustment screw to set the correct water level. 
    4. Replace the Fill Valve: If the valve is damaged, use an adjustable wrench to remove the old valve and install a new one. 
    5. Turn on the Water Supply: Restore the water flow and check for proper operation. 

    Adjusting the Float

    Materials Needed: 

    • Screwdriver (if necessary) 

    Steps: 

    1. Turn off the Water Supply: Stop the water flow and drain the tank. 
    2. Locate the Float: Identify whether you have a ball float or a cup float. 
    3. Adjust the Float: For a ball float, bend the arm gently to lower or raise the water level. For a cup float, use the adjustment screw to set the correct level. 
    4. Turn on the Water Supply: Restore the water flow and check the water level. 

    Fixing the Overflow Tube

    Materials Needed: 

    • Hacksaw (if necessary) 

    Steps: 

    1. Turn off the Water Supply: Stop the water flow and drain the tank. 
    2. Inspect the Overflow Tube: Ensure it is positioned correctly and not too high or too low. 
    3. Adjust the Overflow Tube: If necessary, use a hacksaw to trim the tube to the correct height. 
    4. Turn on the Water Supply: Restore the water flow and check for proper operation. 

    Preventive Maintenance Tips

    To avoid future issues with a running toilet, consider the following preventive measures: 

    • Regular Cleaning: Clean the tank and its components annually to prevent mineral buildup. 
    • Avoid Harsh Chemicals: Use mild cleaners to avoid damaging rubber components. 
    • Prompt Repairs: Replace worn-out parts immediately to prevent bigger issues. 

    Conclusion

    Fixing a running toilet is a manageable DIY task that can save you money and prevent water waste. By understanding the common causes and following the step-by-step solutions provided, you can ensure your toilet operates efficiently. Remember, regular maintenance is key to preventing future problems. 

    Most Popular